• Connect the Audio/Video cable from the Panasonic VHS/DVD player to the ElGato EyeTV Audio/Video input. Plug in the USB cable from the ElGato EyeTV to the iMac computer. (Skip this step if it is already done).
• Plug in the Panasonic VHS/DVD player, El Gato EyeTV, and the iMac to the power, and turn them on. (Skip this step if it is already done).
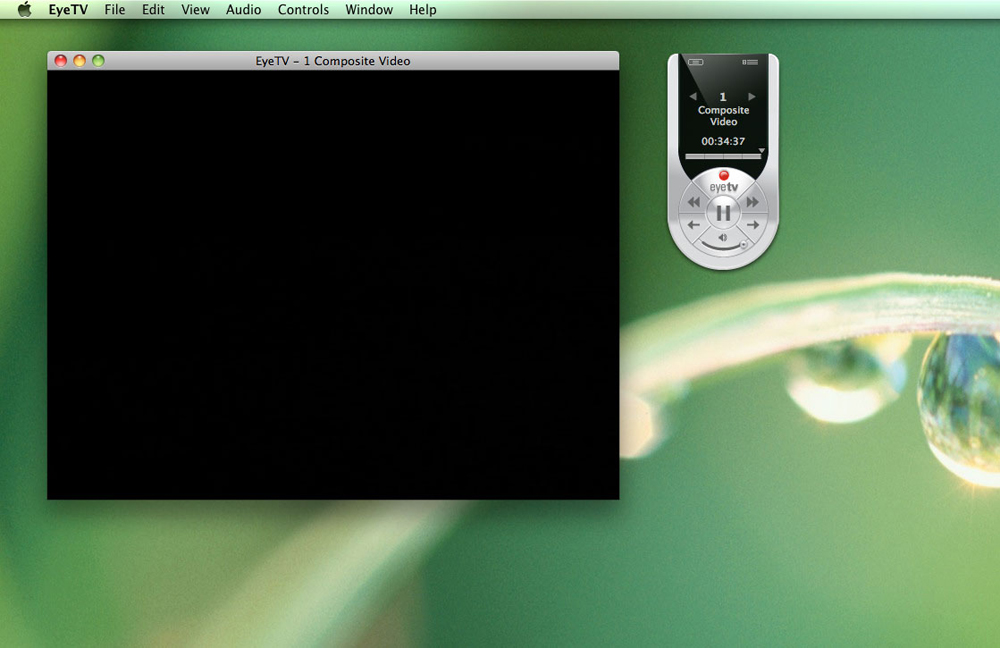
• On the iMac computer, click on the ElGato EyeTv icon to open it. It appears the following EyeTV window and a control menu:
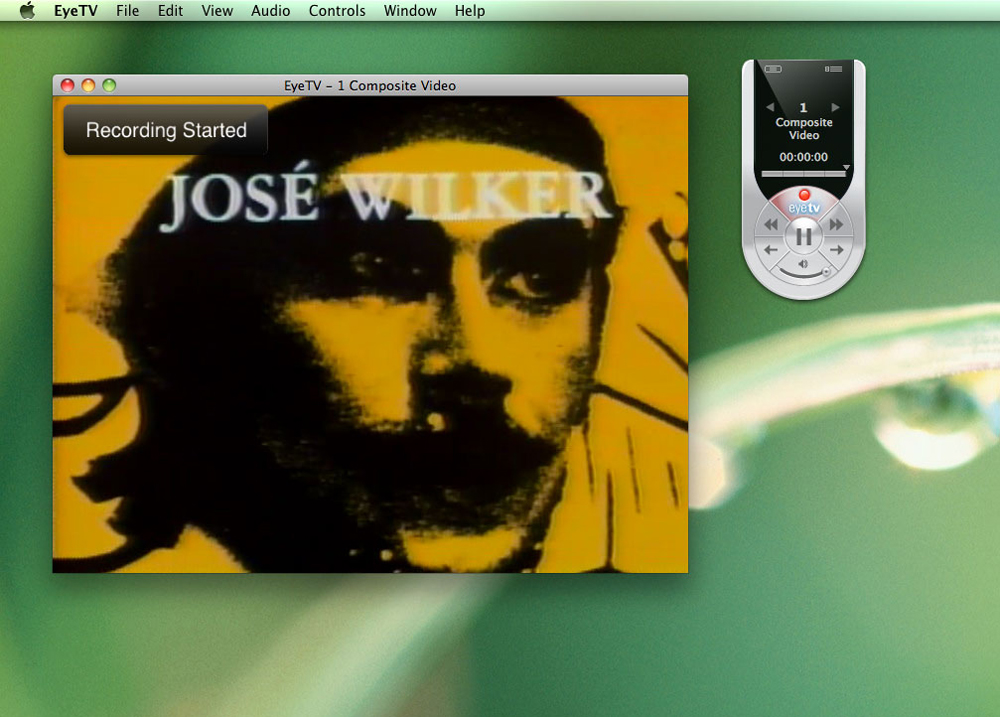
• Insert a video cassette in the VHS player, and the unit turns on automatically. (Recording the Bye Bye Brazil movie in this exmple)
• Once the movie starts playing on the EyeTV window, start recording the movie by clicking on "the red eyetv button" from the EyeTV control menu.
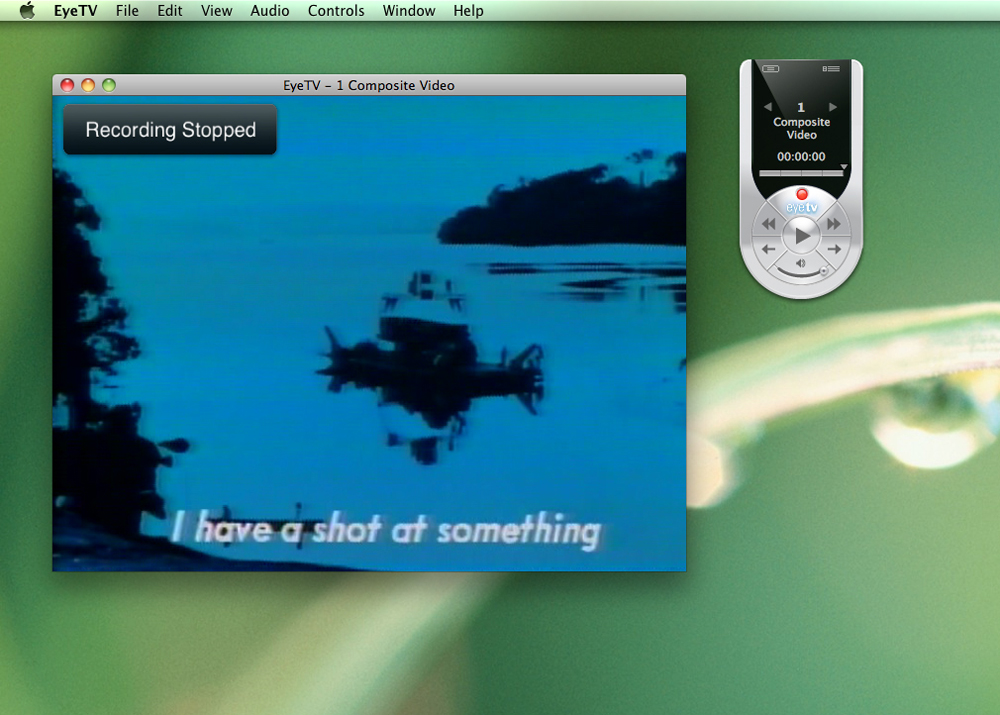
• Let to record the movie until you decide where you want to stop the recording.
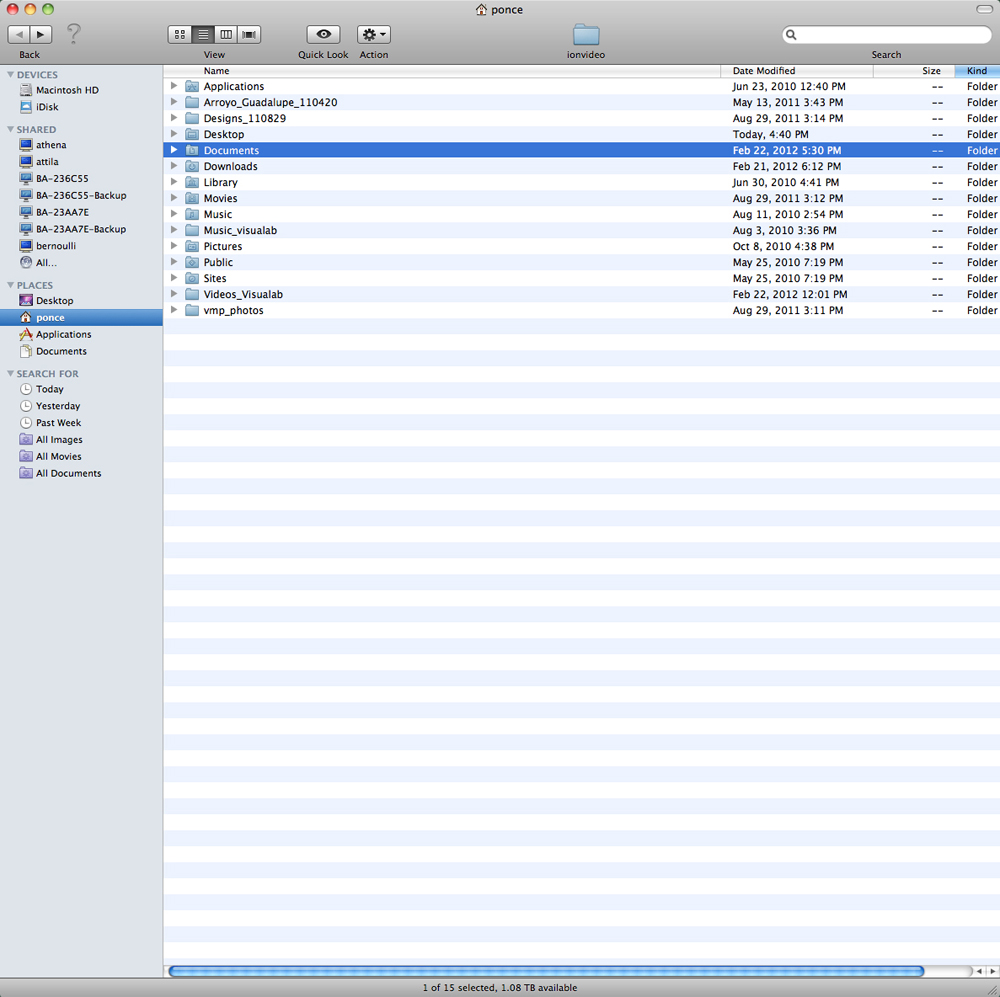
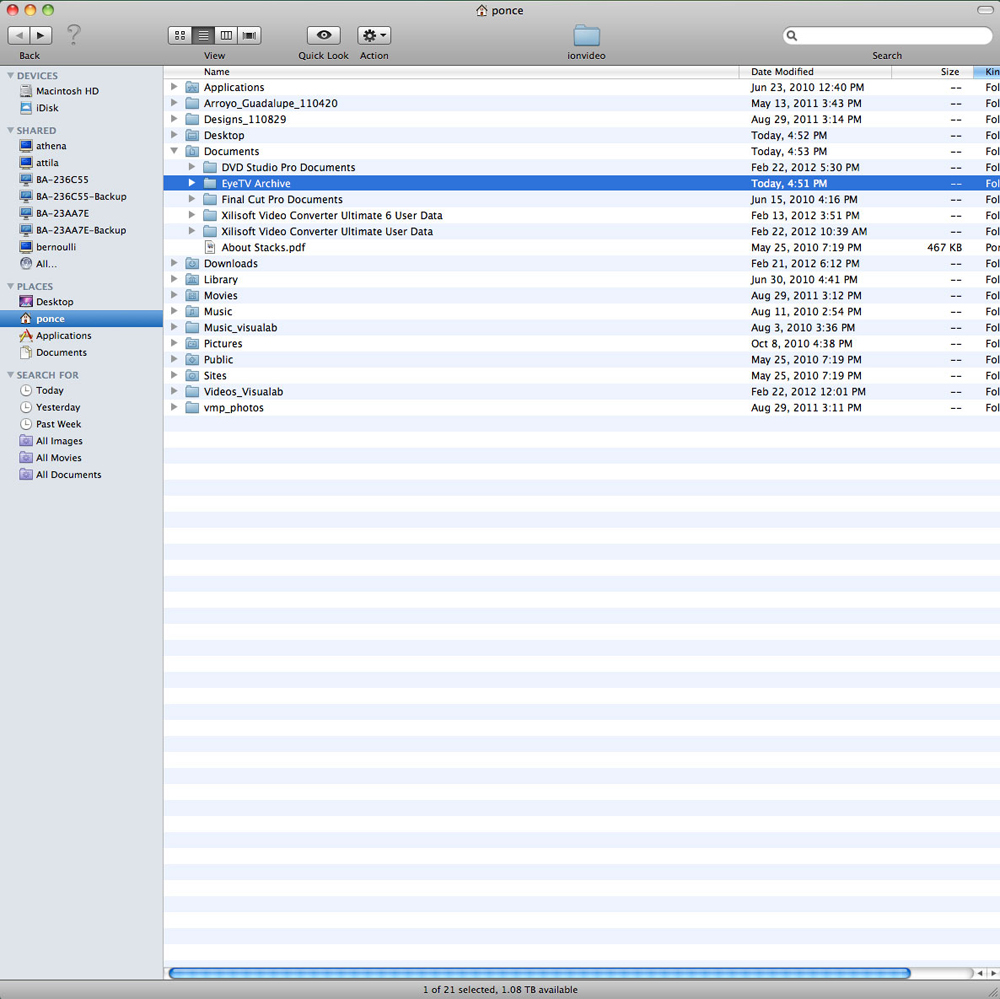
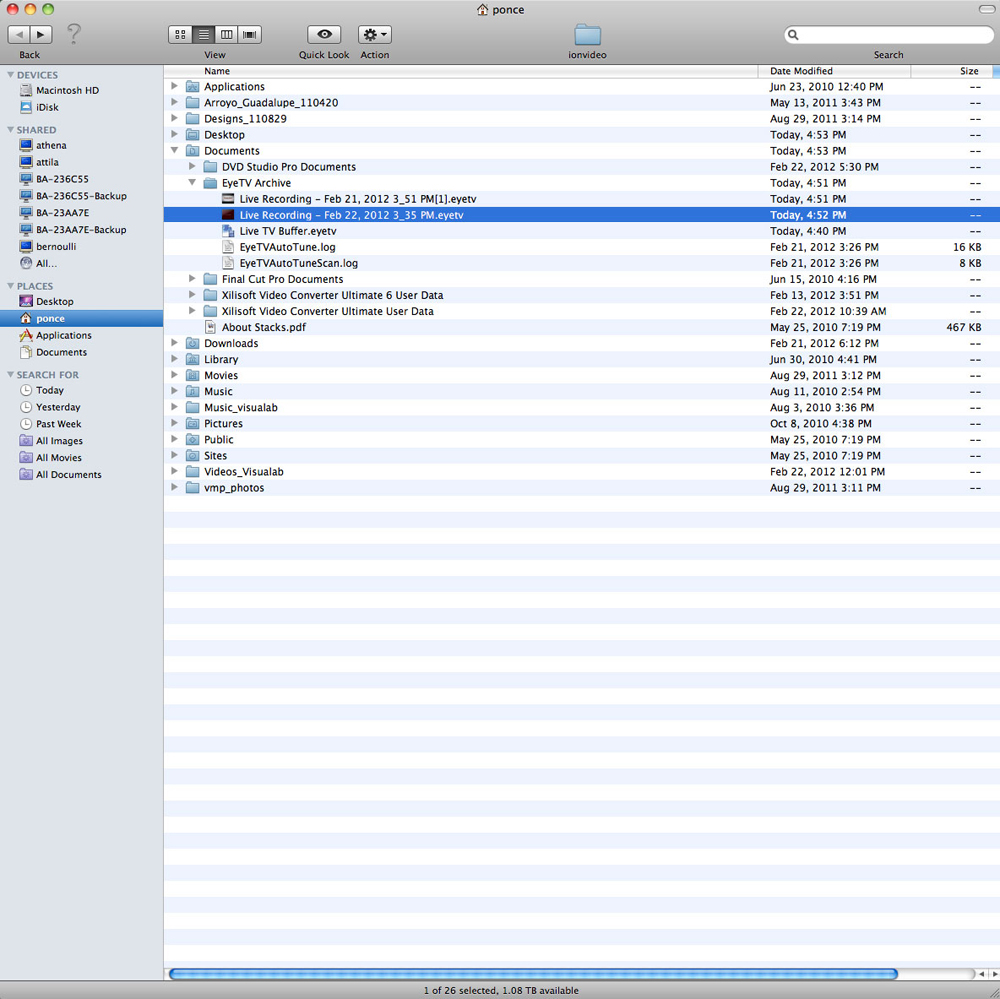
• Once the recording has finished, go to ponce ---> Documents ---> EyeTV Archive, where you find the recording file under the default name "Live Recording-XXXXX.eyetv" by EyeTV software. Notice that the extension of the EyeTV files is "XXXX.eyetv"
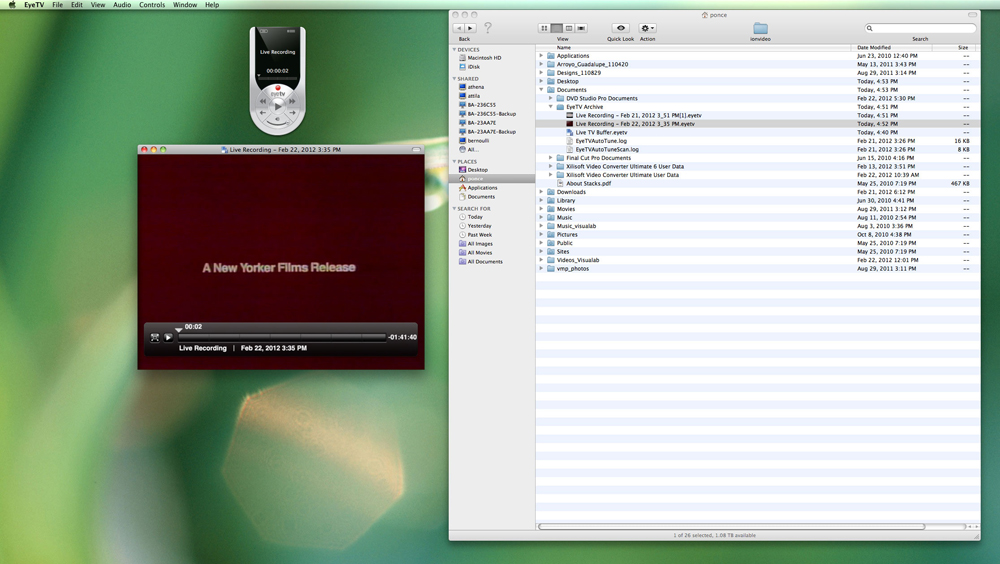
• Double click on "Live Recording-XXXXX.eyetv" file to open it.
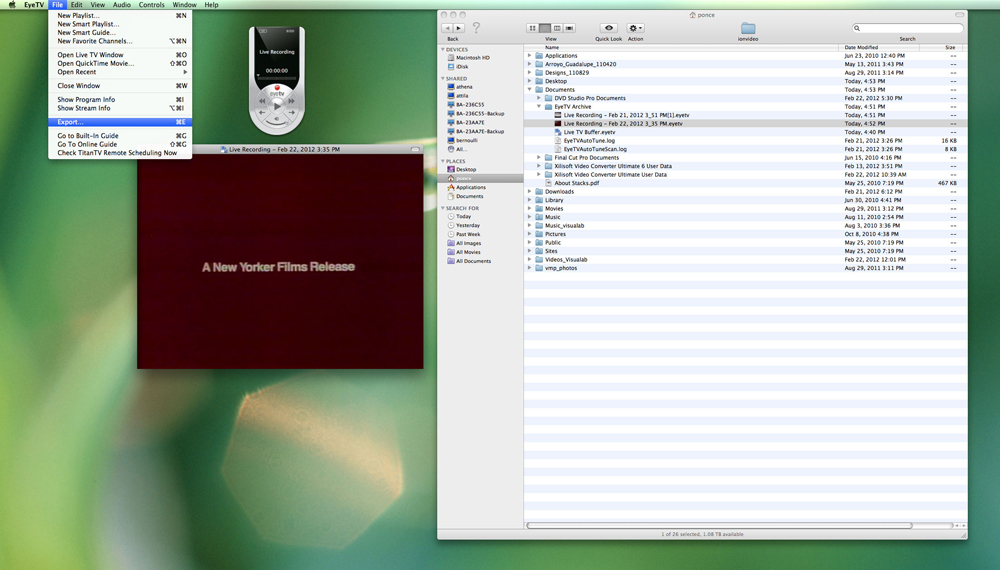
• Once it is open, go to EyeTV File menu ---> Export (Command + E)
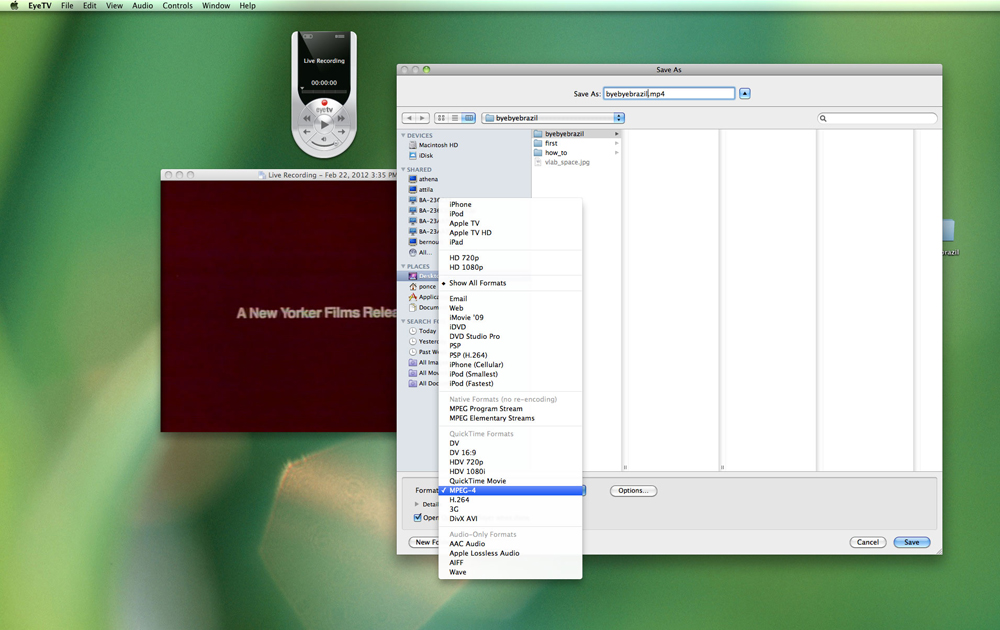
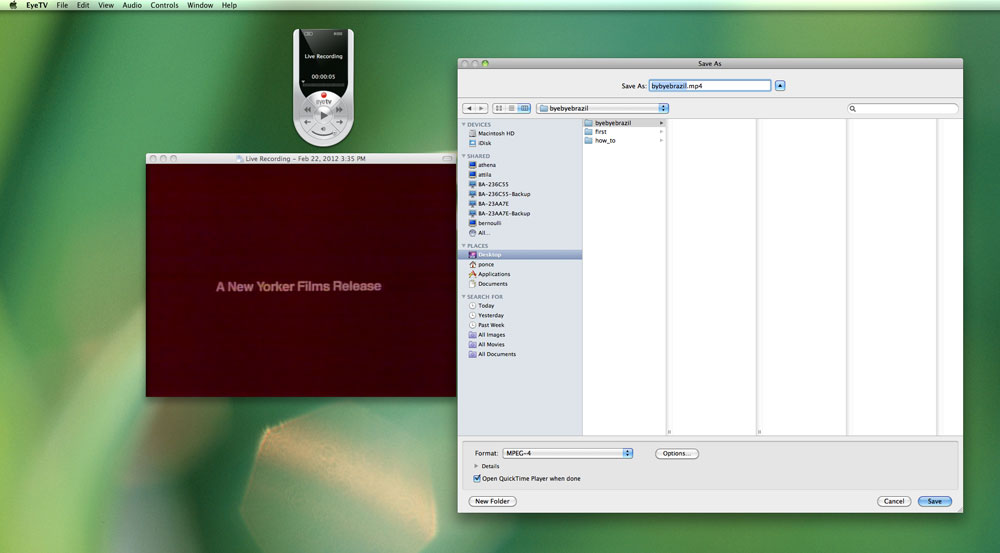
• A "Save As" window appears, where you select a folder (e.i. byebyebrazil) and save the movie as MPEG-4 format (e.i. byebyebrazil.mp4).
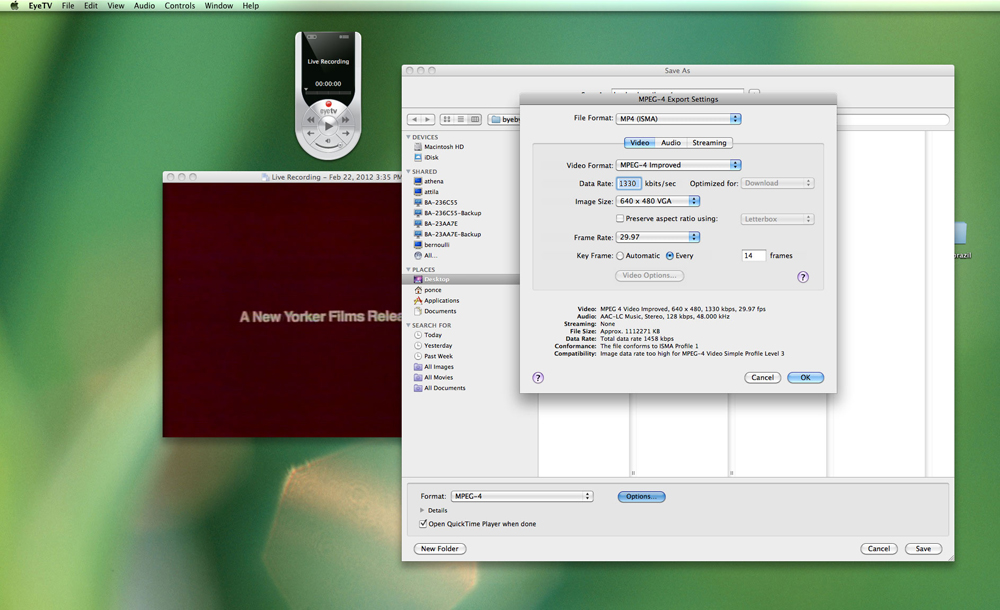
• Right next to the "Format listbox," there is a "Options" button. Click on this bottom to open a "MPEG-4 Export Settings" window, where you can change the settings if you need it. Otherwise, just leave the default settings and click on OK to finish.
• Finally, click on the "Save" button to save the movie as "byebyebrazil.mp4." At this time, the EyeTV program starts exporting the movie as MP4 format, so DON'T close the EyeTV program during this process.
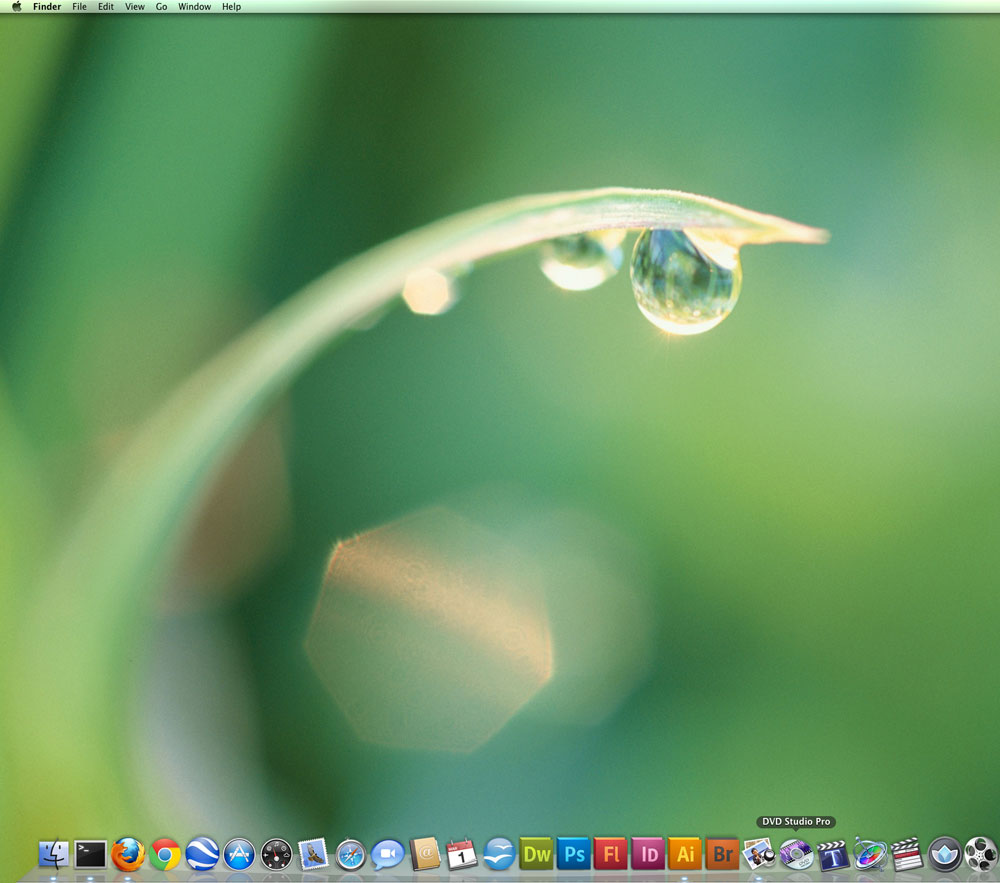
• Once the movie was converted to MP4, click on DVD Studio Pro to create a DVD.
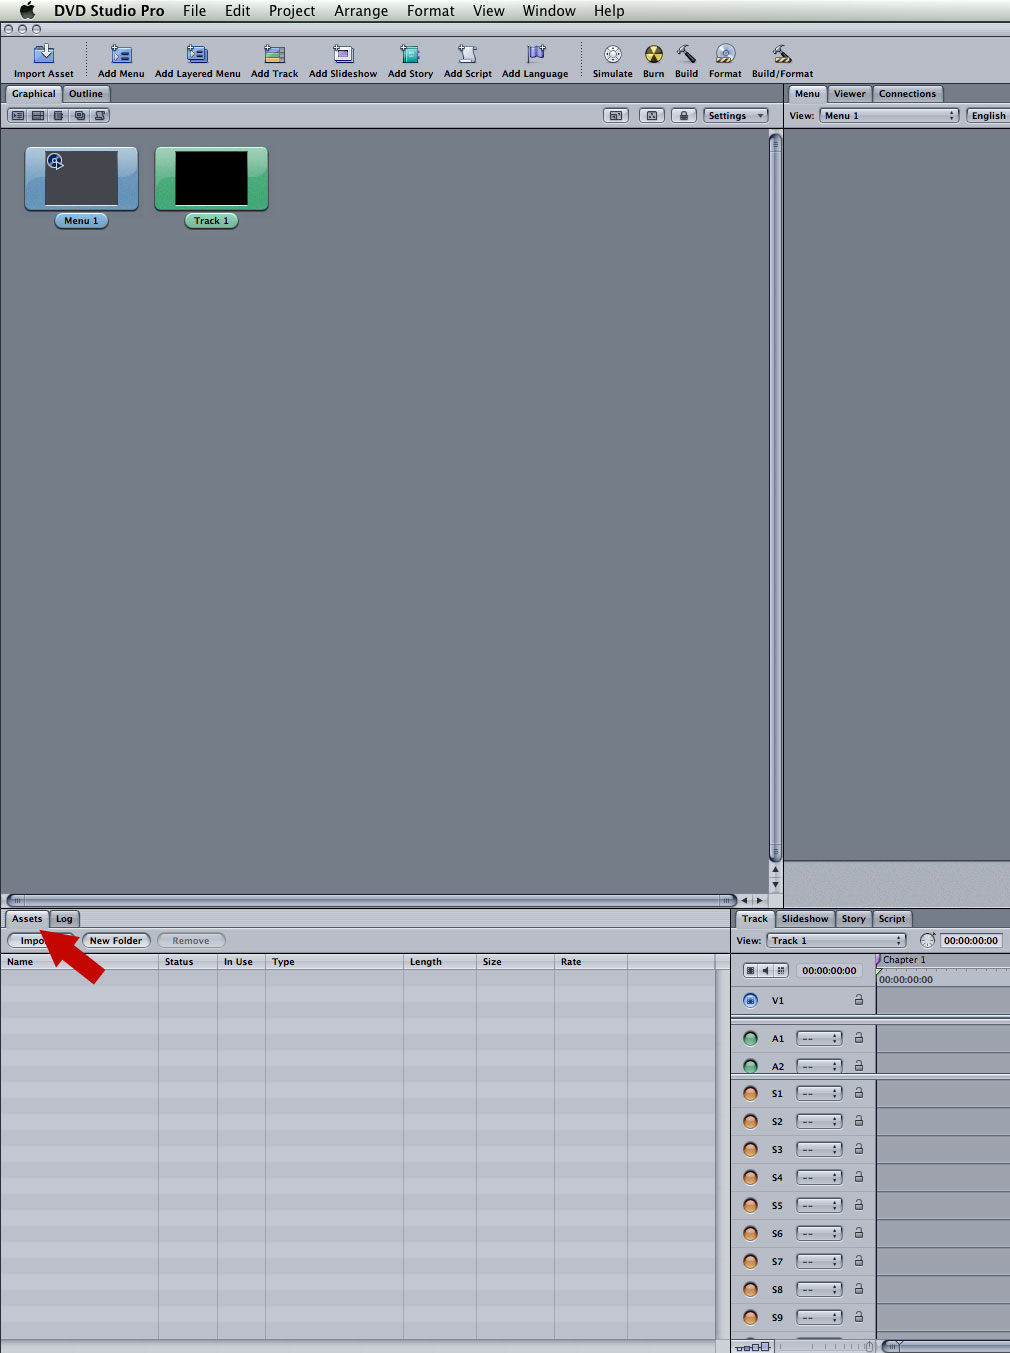
• If you want to see this DVD Studio Pro configuration (as you see on the below image), click on Window menu ---> Configurations ---> Advanced (F3).
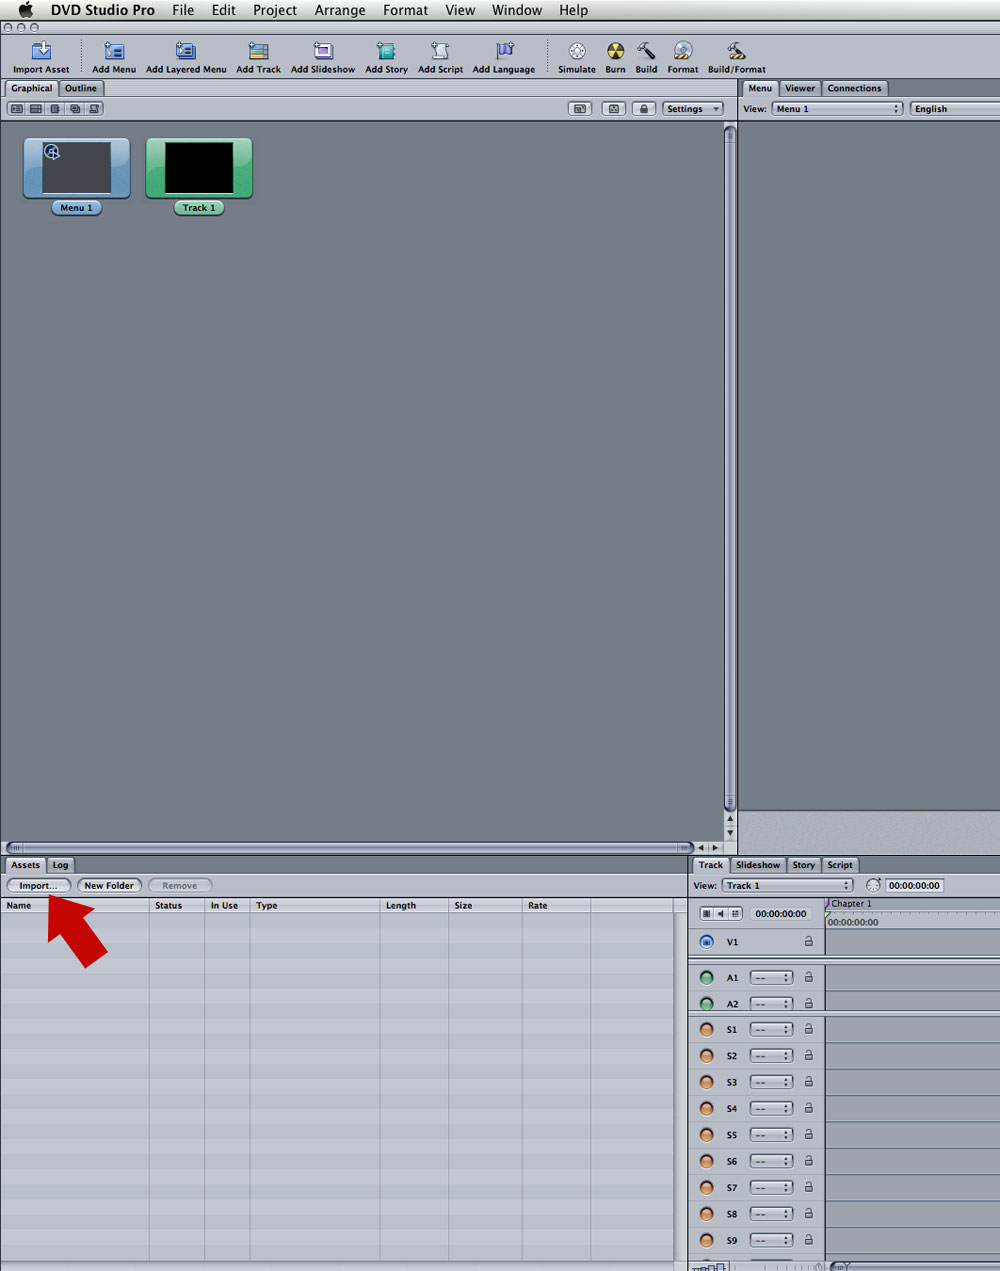
• Find the "Assets" tab and click on it.
• Now, click on "Import" button, and a browser window appears, where you select your xxxx.mp4 (byebyebrazil.mp4) movie to import into DVD Studio Pro.
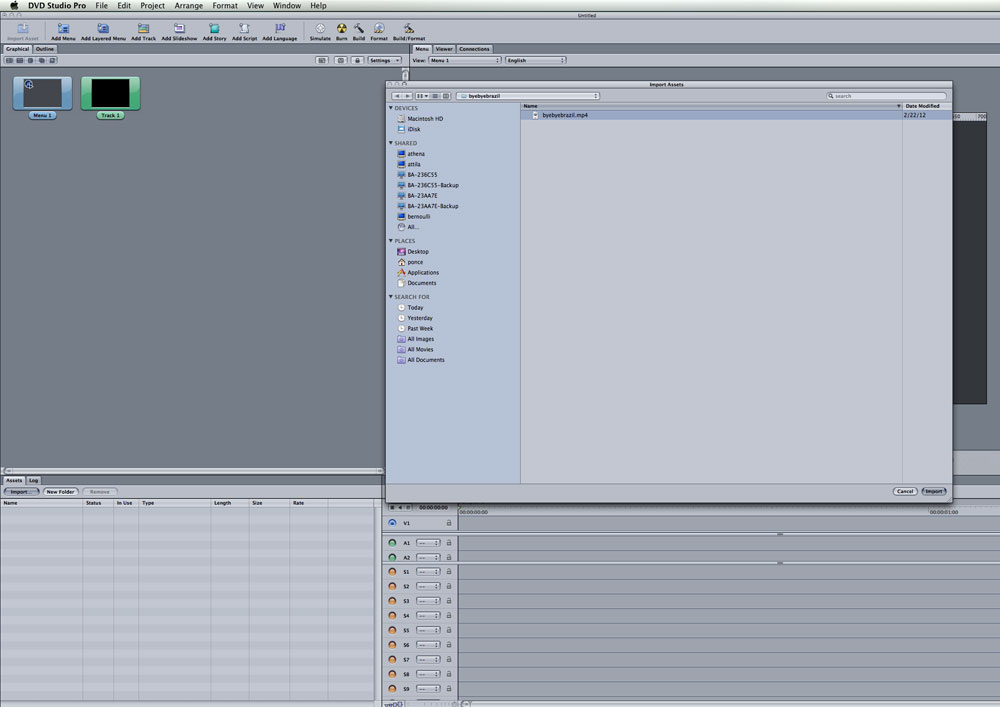
• Select the xxxx.mp4 (byebyebrazil.mp4) movie.
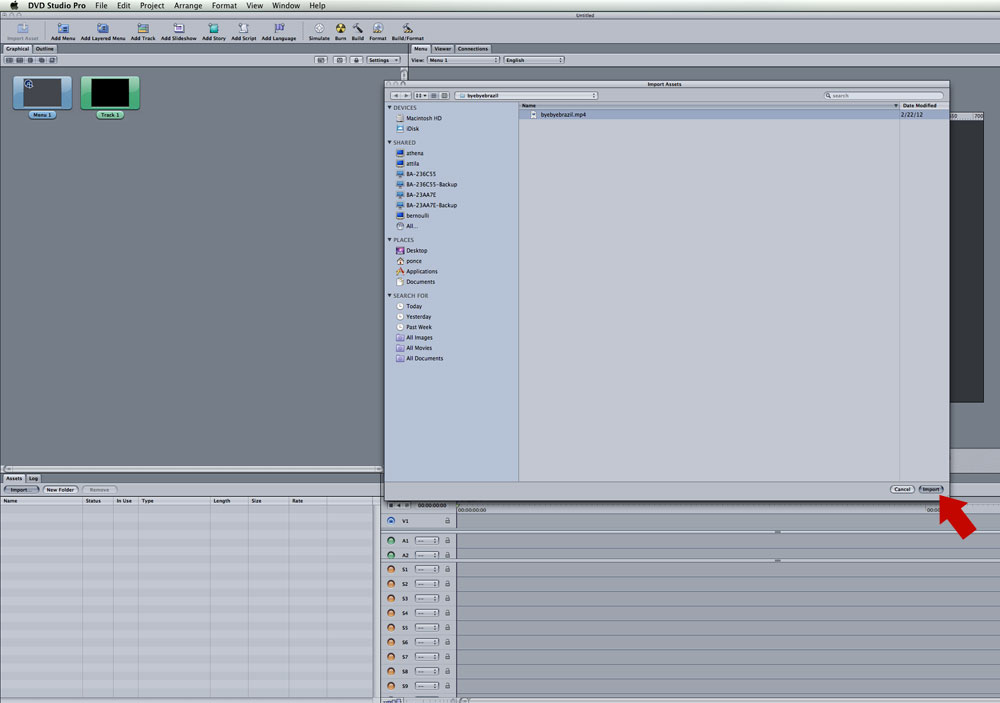
• Click on "import" button.
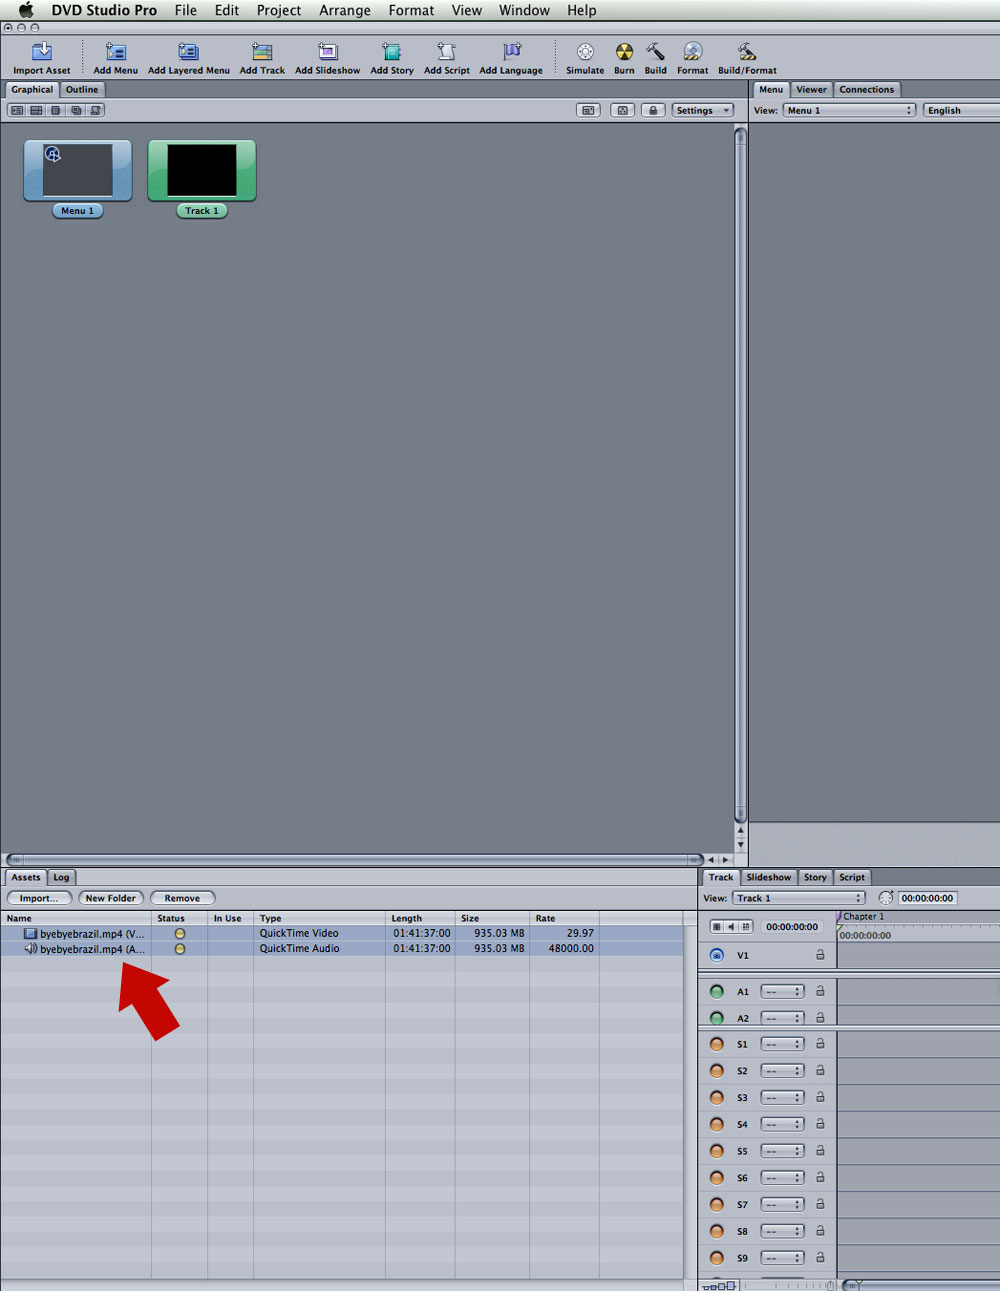
• The xxxx.mp4 (byebyebrazil.mp4) Video and Audio files appear on the Assets tab
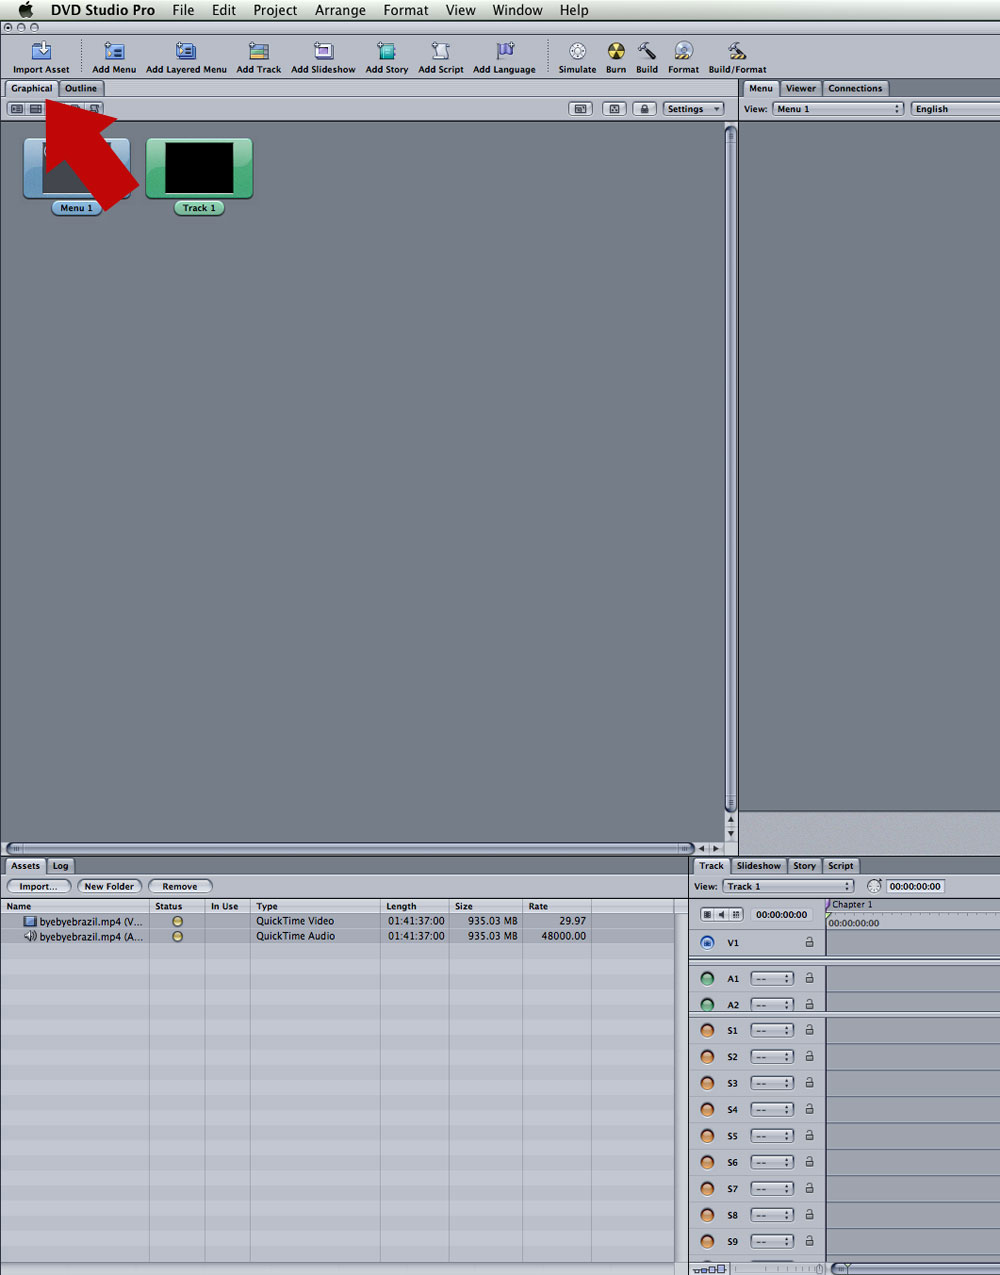
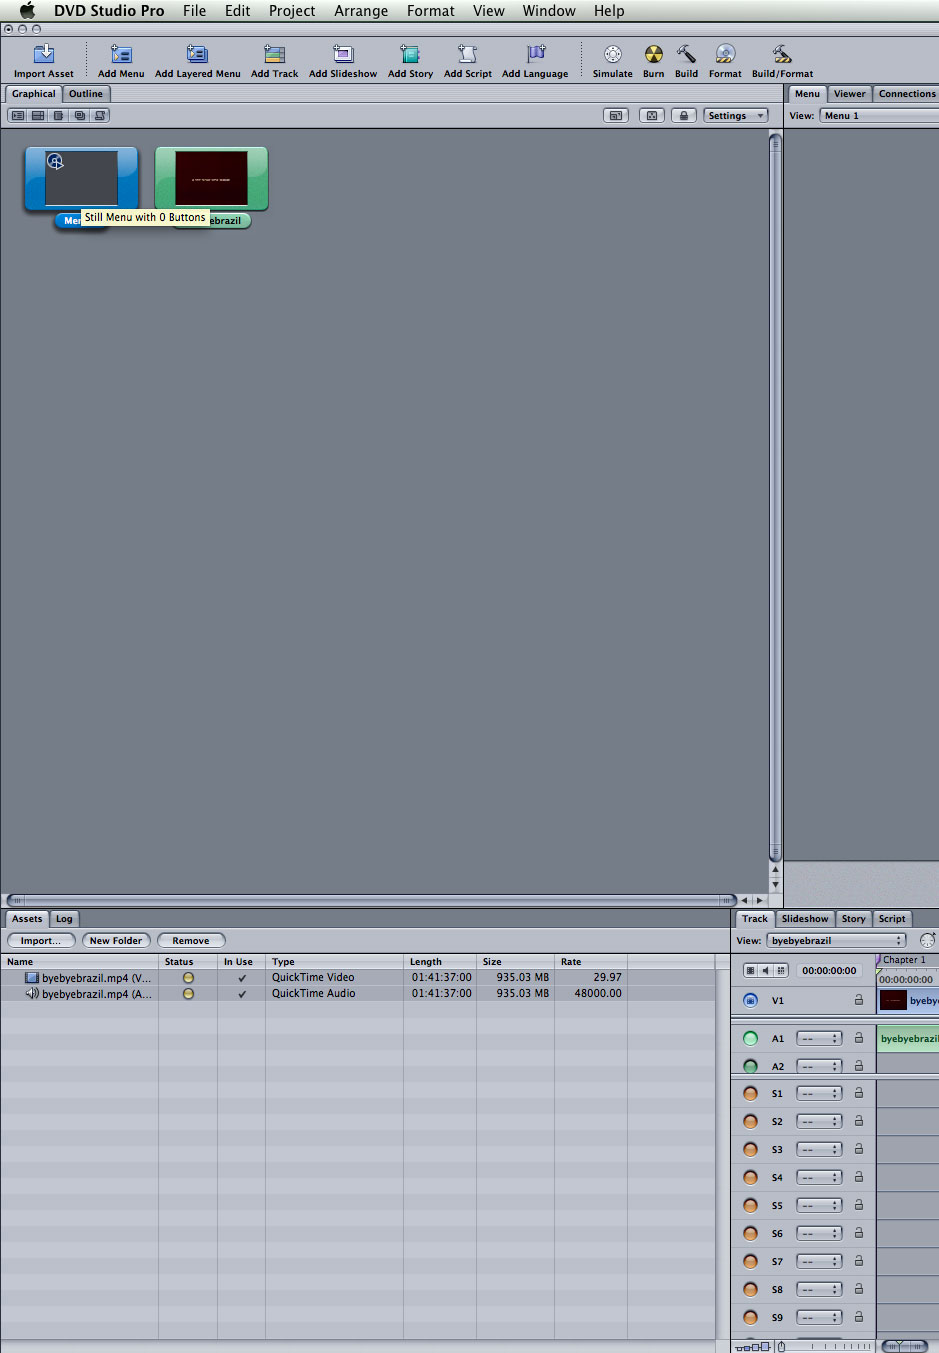
• Click on the "Graphical" tab, and you see a blue box "Menu 1" and a green box "Track 1."
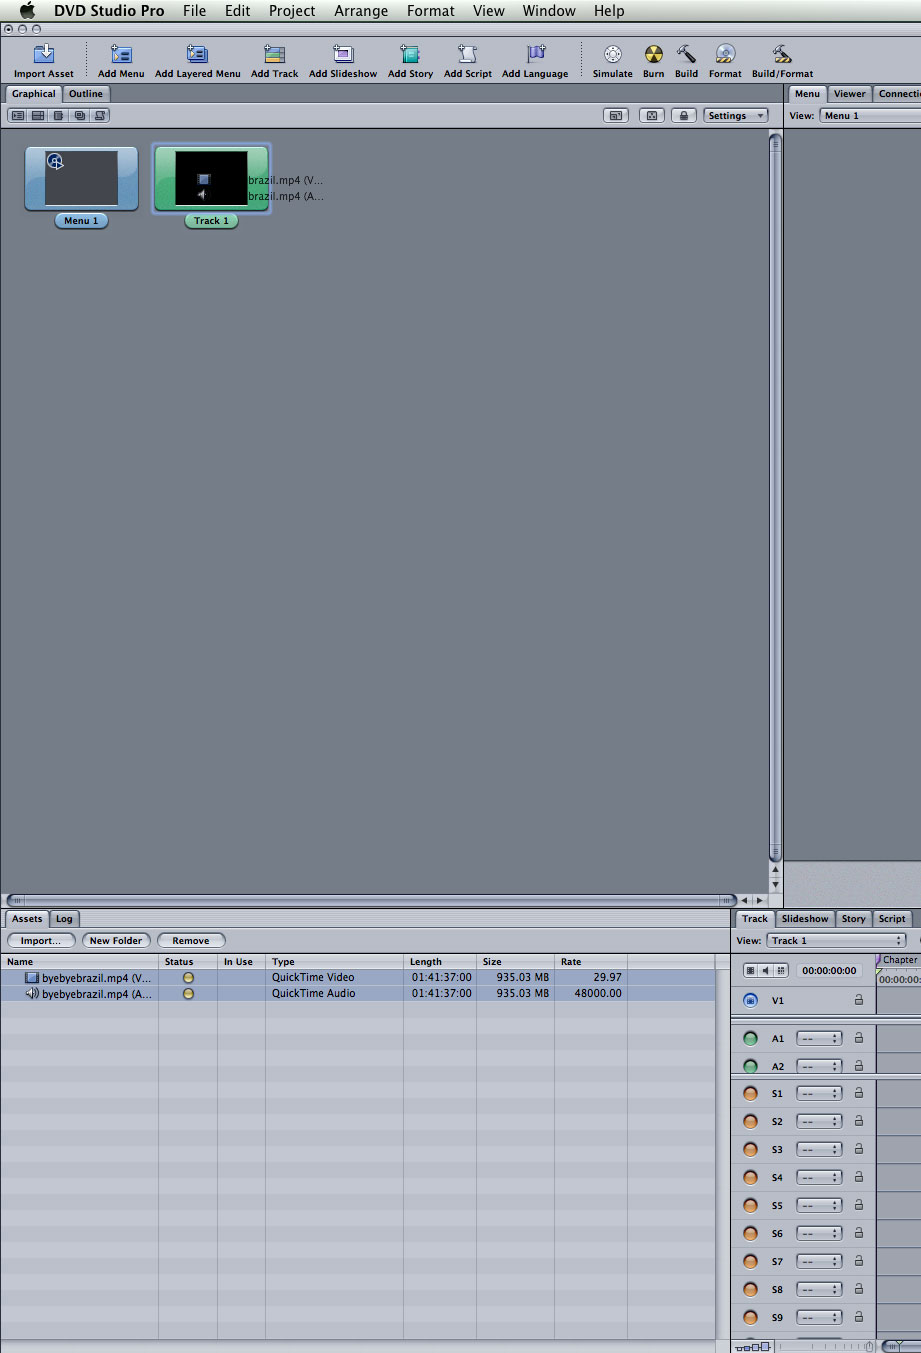
• Drag and drop the xxxx.mp4 (byebyebrazil.mp4) Video and Audio files from the Assets tab into the green box "Track 1."
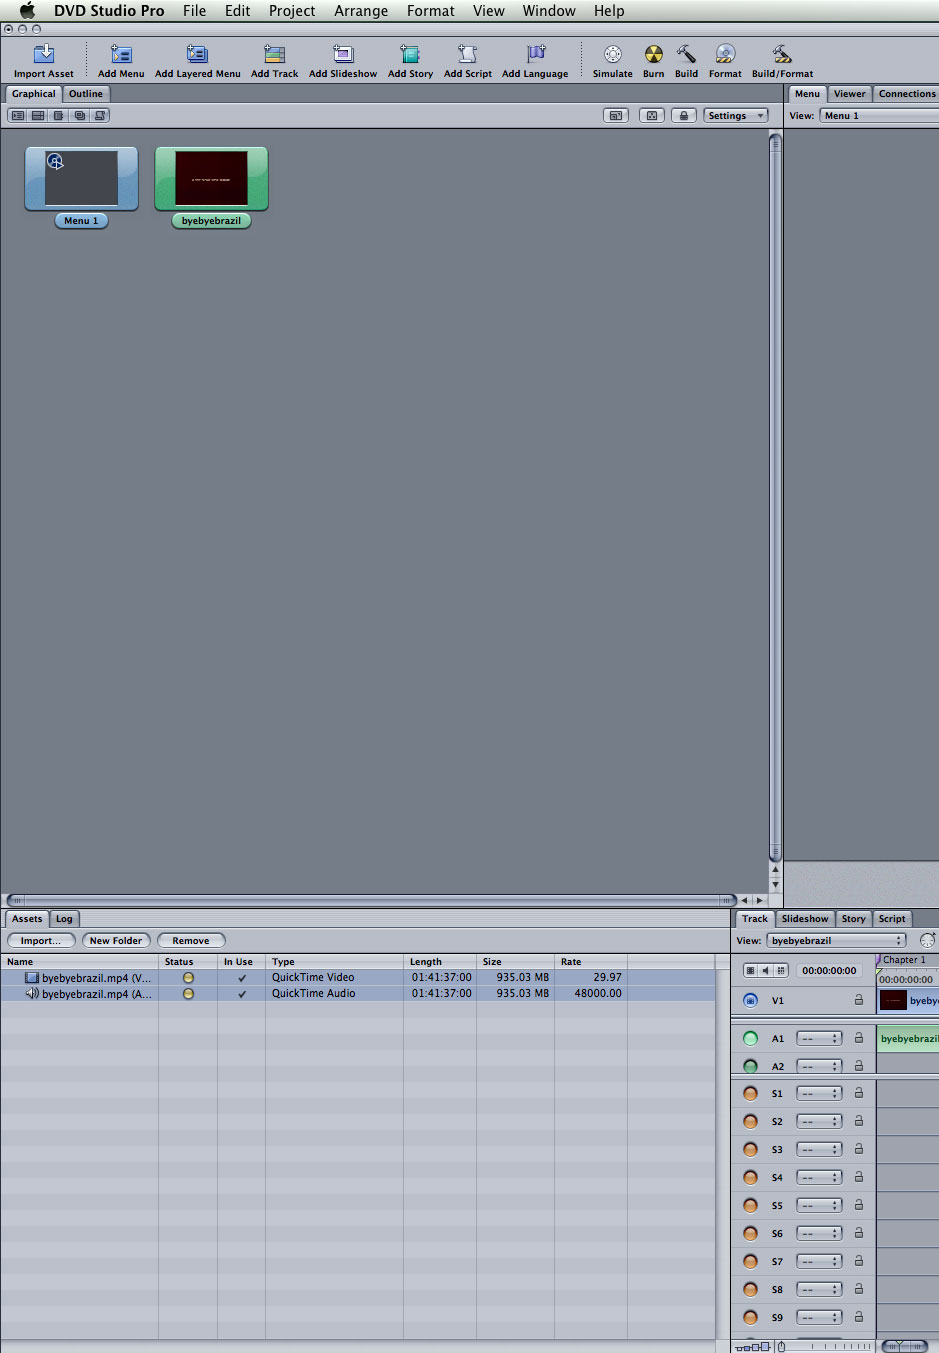
• The green box "Track 1" got the name of the movie; in this case, "byebyebrazil."
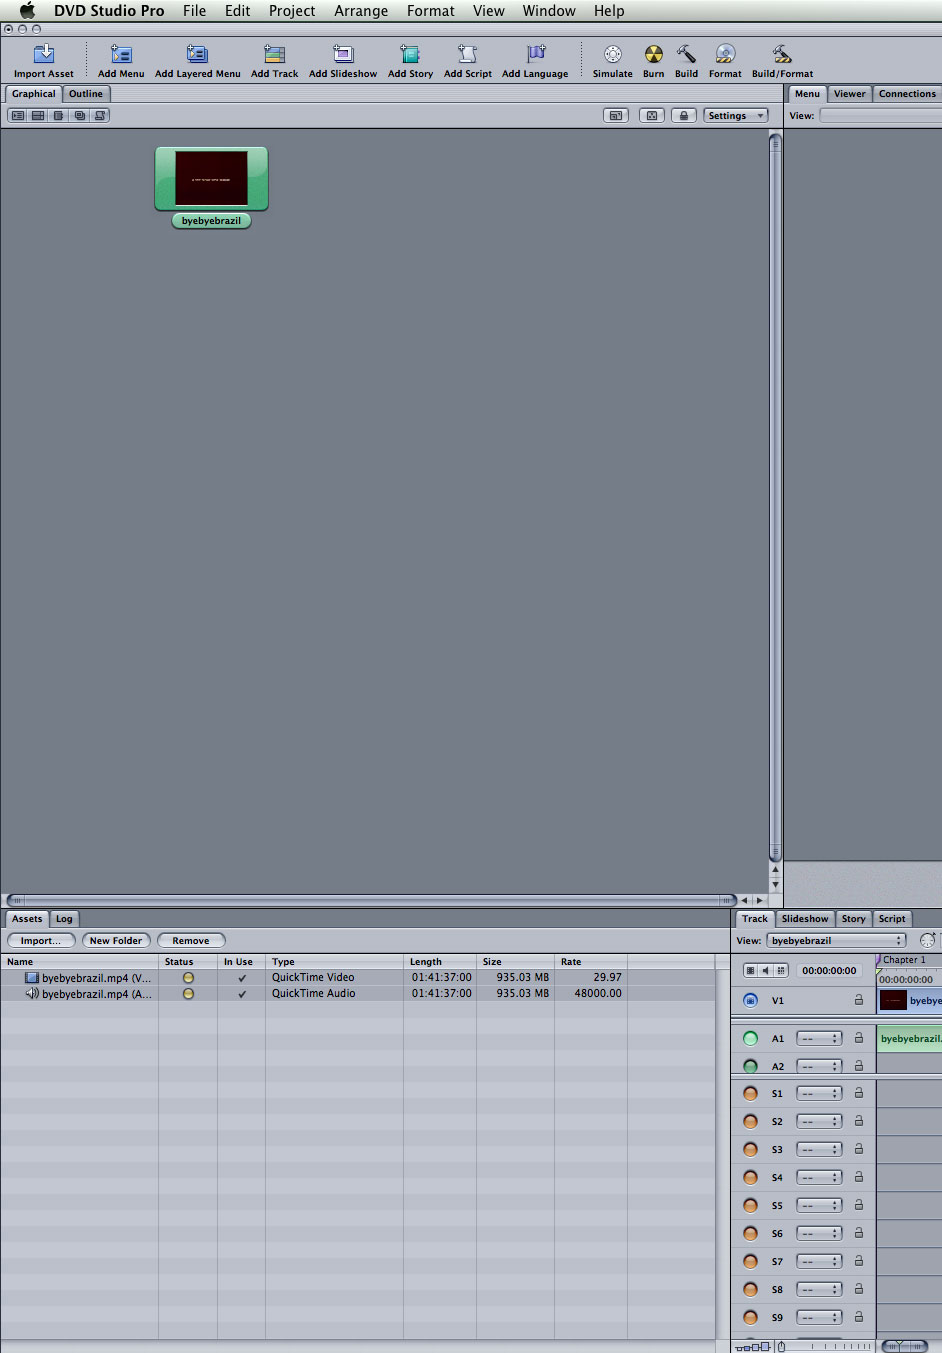
• Click on the blue box "Menu 1" to select it and hit the "delete" key from the keyboard to delete it.
• There is just the green box "byebyebrazil" here.
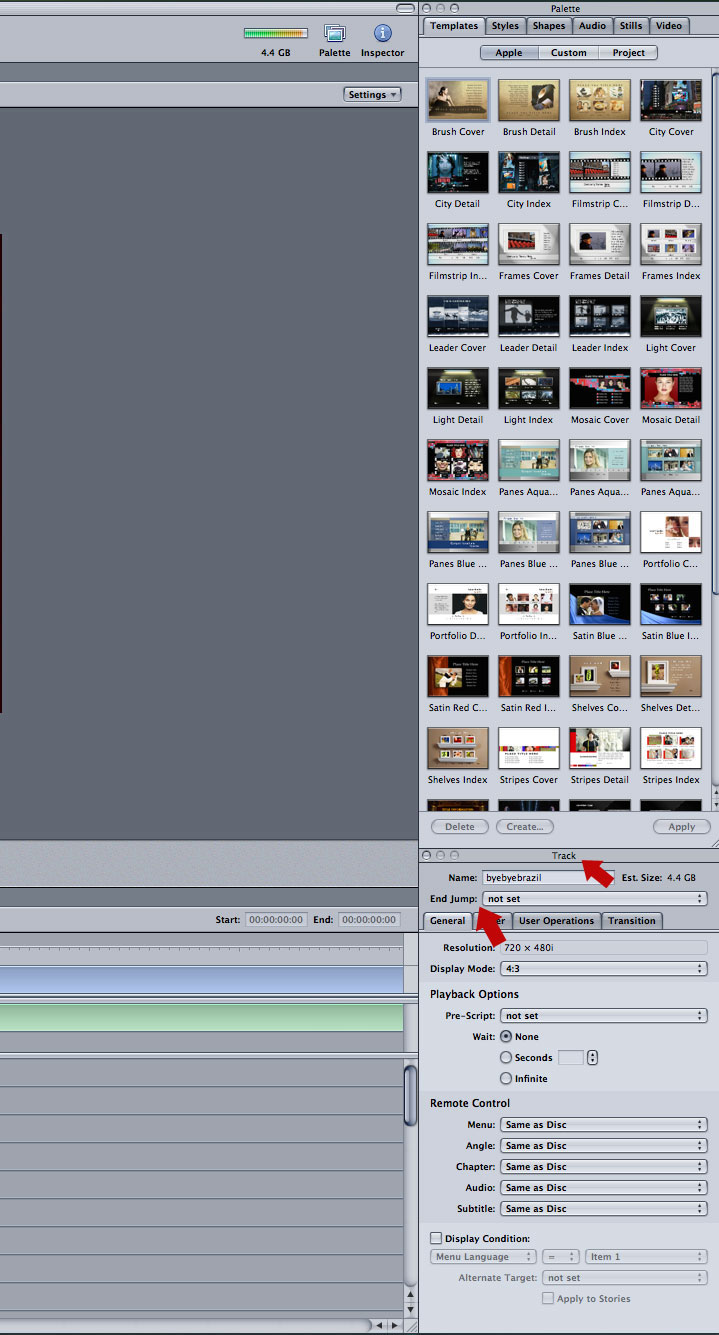
• On the right side bottom window, there is a "Disc or Track" window. Click on "not set" by "First Play or End Jump."
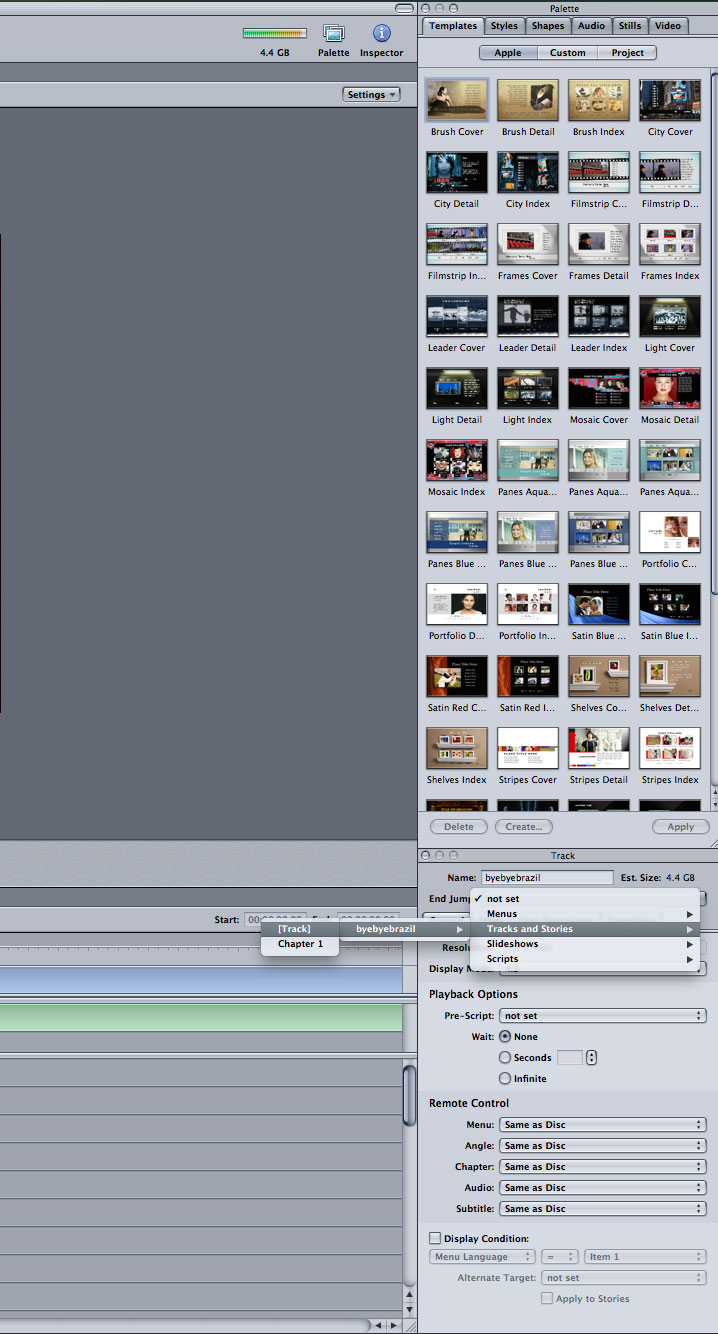
• On the "First Play or End Jump" listbox, select Tracks and Stories ---> xxxx.mp4 (byebyebrazil.mp4)---> Track
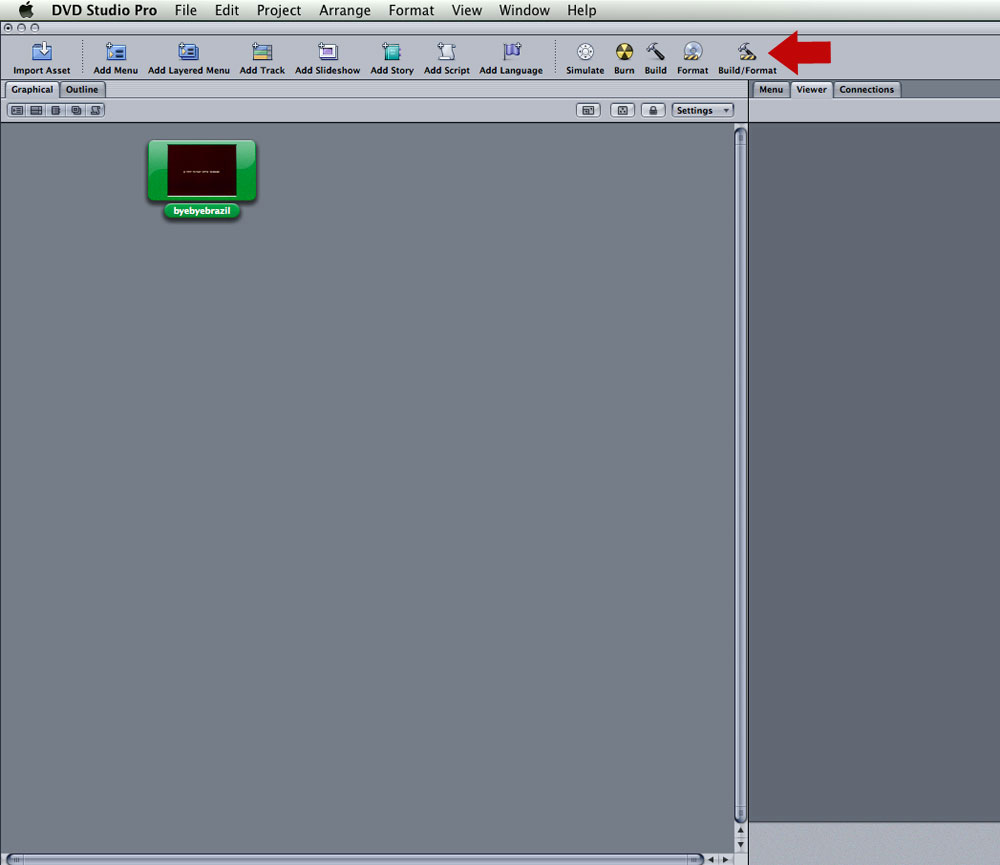
• Click on the Build/Format button
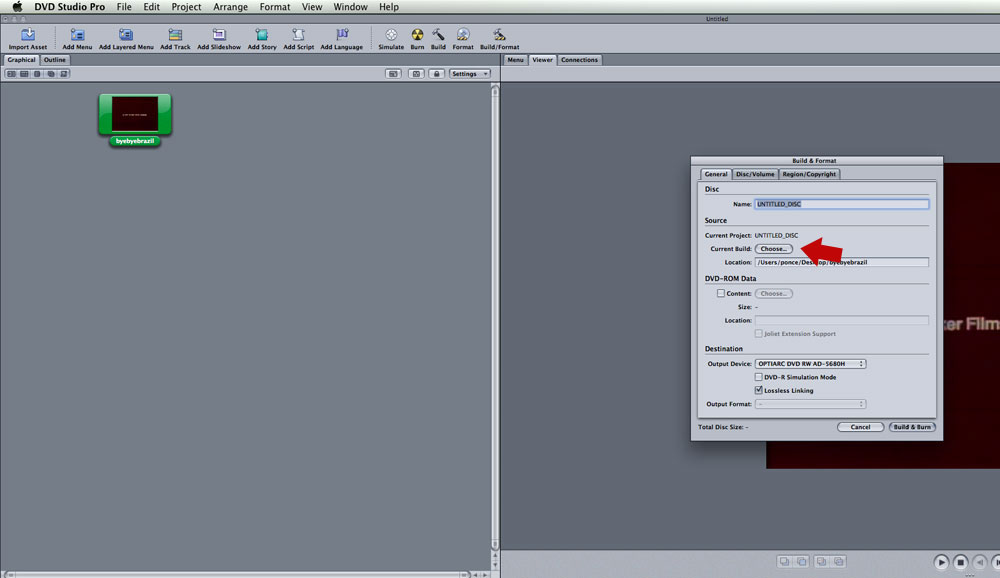
• The Build/Format window appears. Click on "Choose" button
• A "Choose Build" window is open, where you select the folder where you are saving your current movie files; in this case, it is "byebyebrazil" folder. Click on the "Choose" button to close the "Choose Build" window.
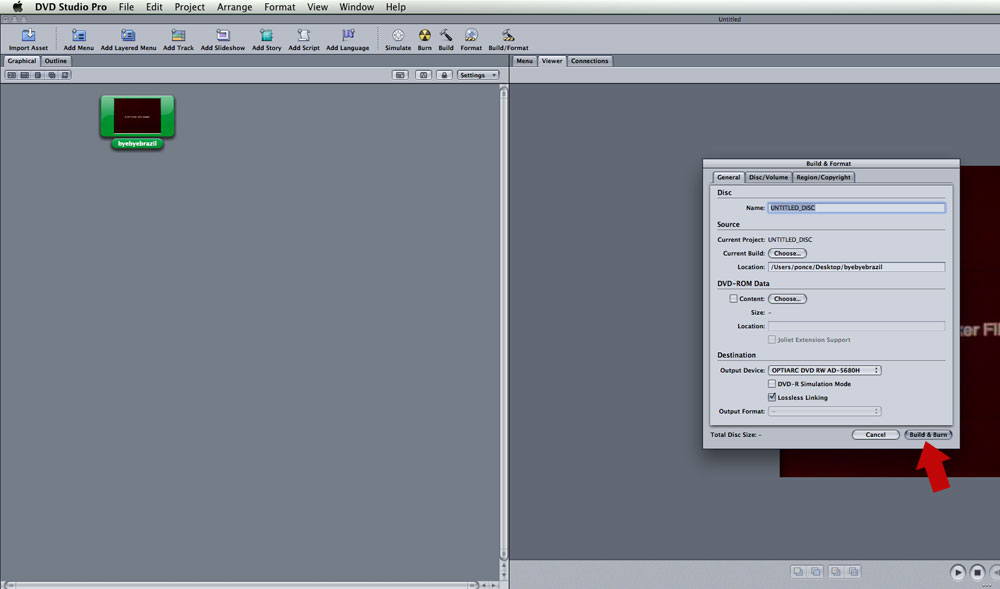
• Click on "Build & Burn" button on the "Build & Format" window to start burning a DVD.
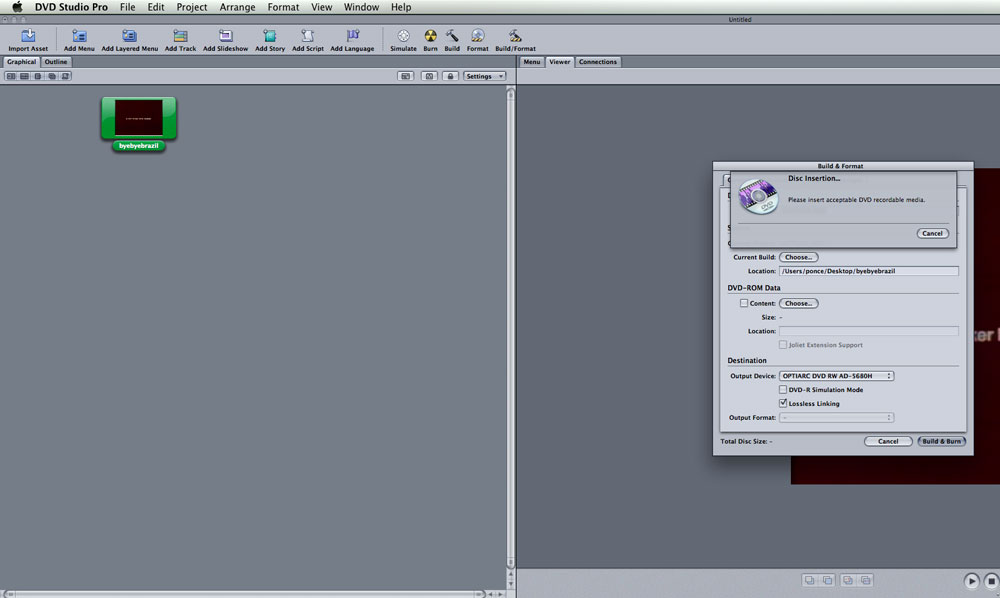
• If you have not inserted a DVD disc, you may get the following message:
• In this case, just insert a DVD disc and start burning a DVD. Just wait until the DVD is done, and you will be able to play the DVD in your DVD player at home.